In this guide
Expected result
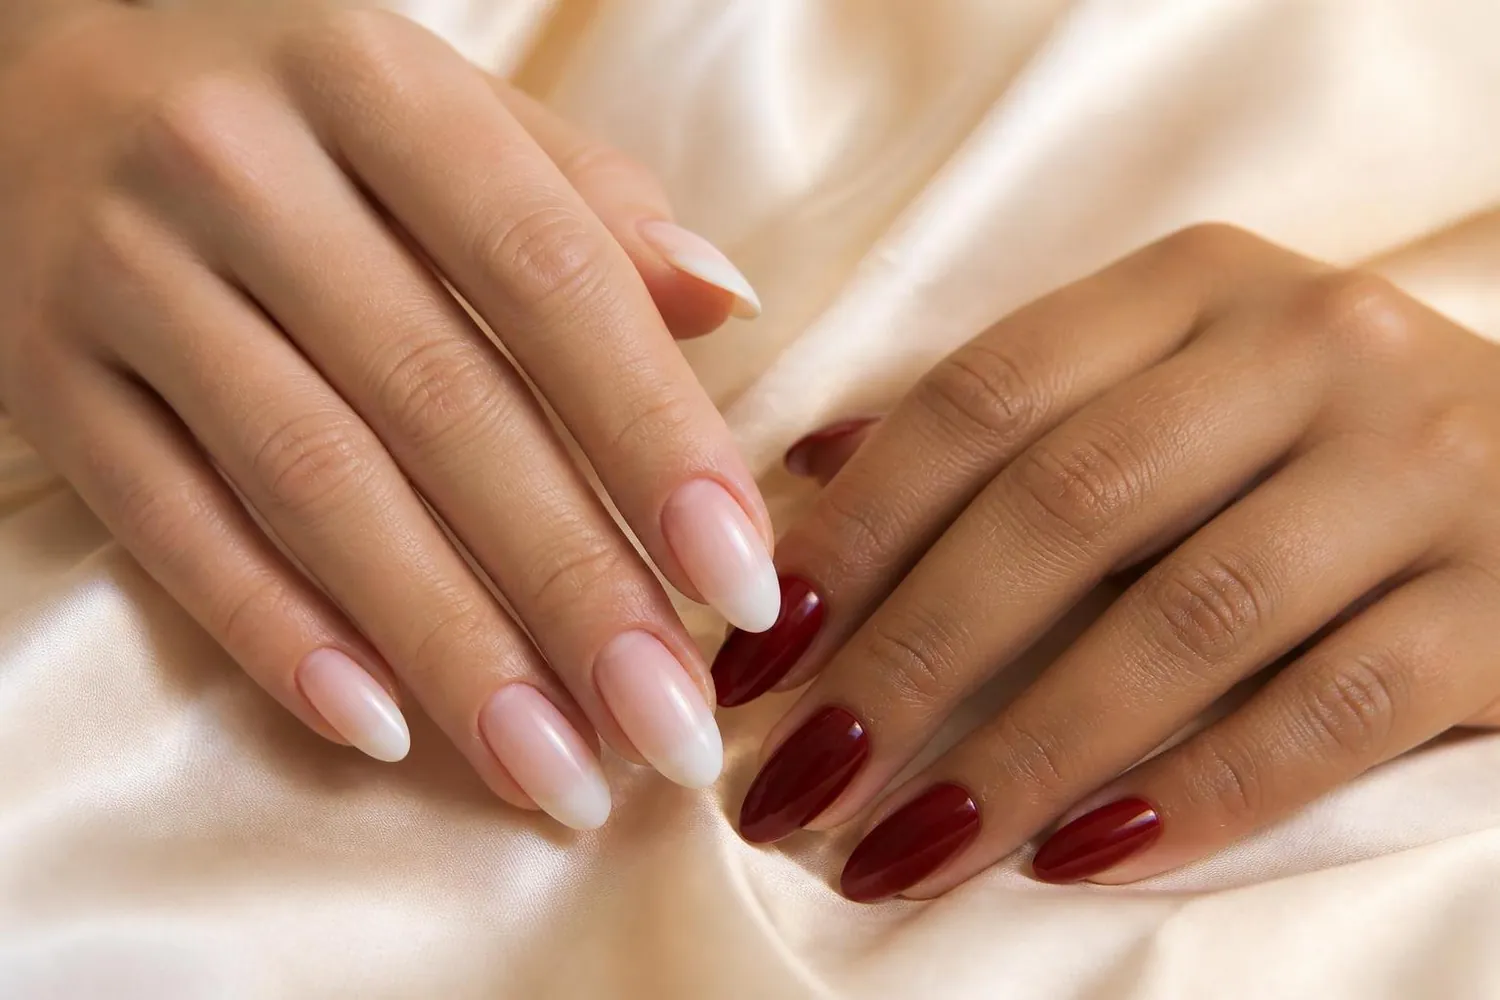
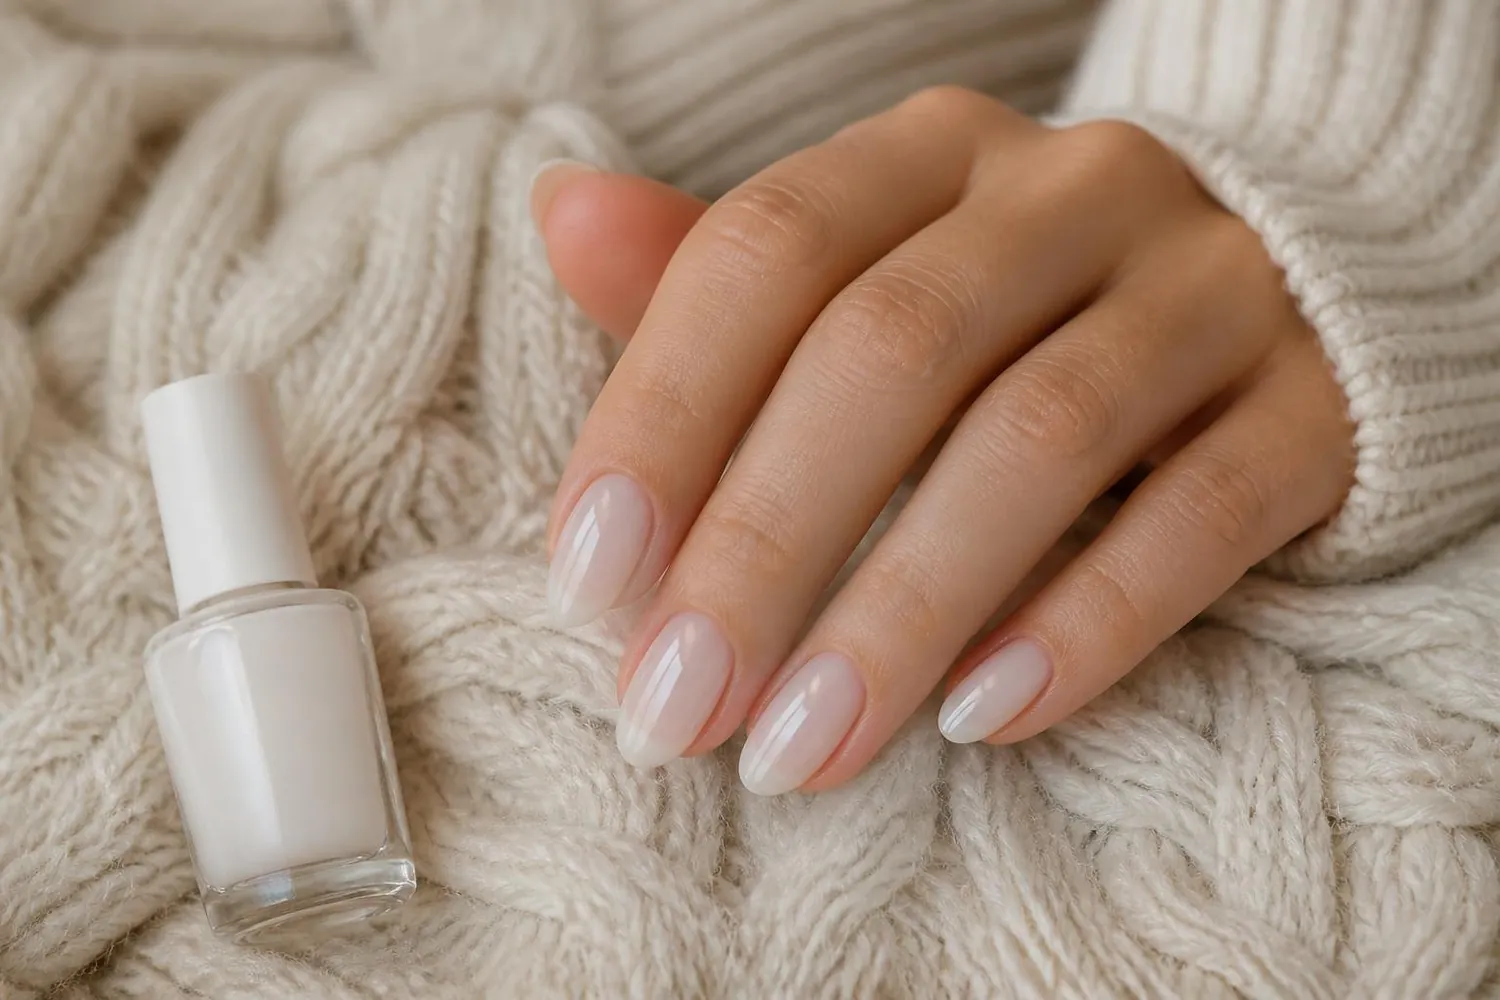
Milky nails are a semi-sheer wash of white or pinky white, somewhere between a clear coat and an opaque cream. The color softens the look of the nail plate, blurs small marks and gives the whole hand a clean, cared-for look. It's a lot like a tinted skin product for your nails: you can still see a hint of the natural nail underneath, but everything looks smoother and brighter.
The finish is glossy and quiet, with no glitter, art or chrome. It suits every nail length and shape and every skin tone, though you may want to adjust the undertone. Pure milky white looks crisp and cool, while a milky pink reads warmer and softer. Either way, you can wear it to the office, a wedding or on a weekend, which is a big part of why so many people keep coming back to it.
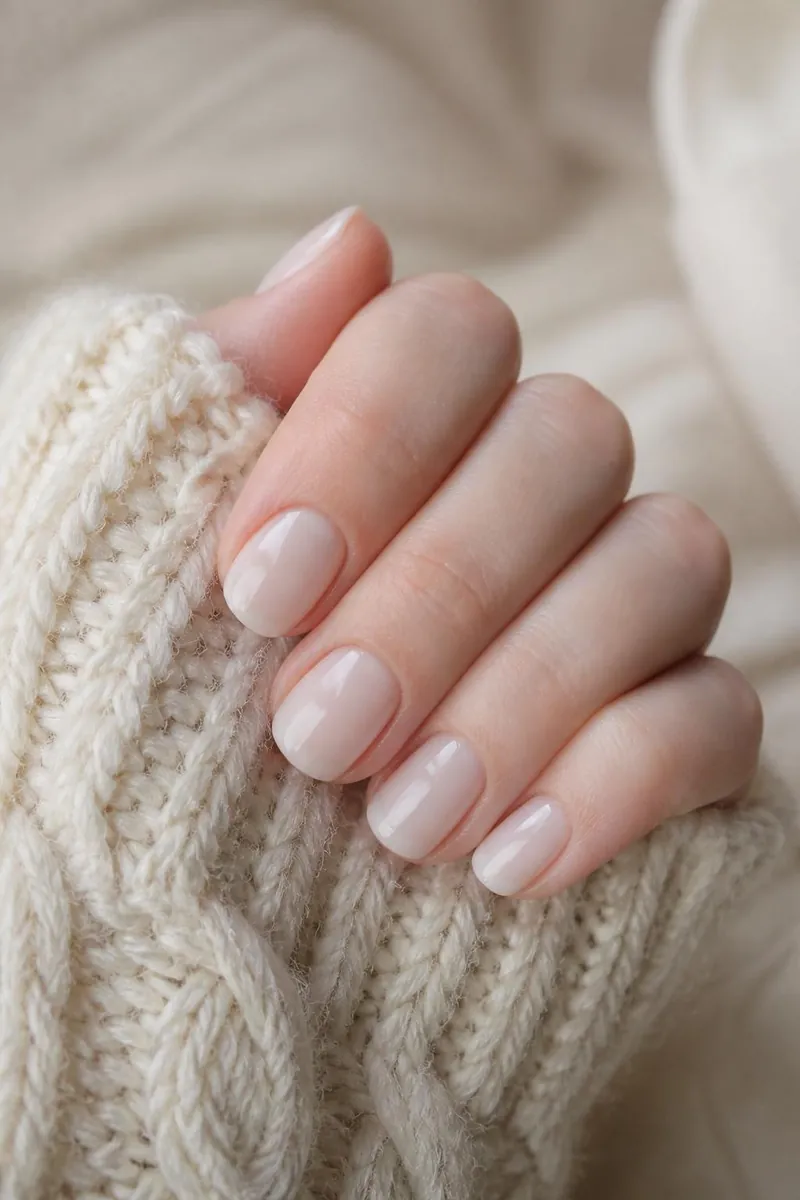
With regular polish, expect it to last around five to seven days before you notice wear at the tips. Gel will usually last two to three weeks, and press-ons sit somewhere in between, depending on how carefully they're applied.
What you'll need
- Nail file (a fine-grit or glass file is gentlest on natural nails)
- Cuticle pusher or orangewood stick
- Nail polish remover and lint-free wipes or cotton pads
- Base coat (a smoothing or ridge-filling one helps here)
- A sheer milky white or milky pink polish
- Glossy top coat
- Small flat brush for cleanup
- Cuticle oil
- Optional for gel: gel base coat, milky gel color, no-wipe gel top coat and an LED/UV nail lamp
If you're choosing a polish, look for words like sheer, jelly or milky on the label rather than cream or full coverage. A semi-sheer formula is what gives you the soft, see-through effect. If you only have an opaque white, you can thin it by layering it over a sheer pink, but a true milky shade is much easier.
Step-by-step
1. Shape and prep your nails
Start with clean, dry nails and no old polish. File each nail in one direction to your preferred shape; short rounded and soft almond shapes look especially good with milky polish. Gently push back your cuticles with a pusher or orangewood stick, but don't cut living skin. Wipe each nail with remover to clear away oils and dust, which helps polish grip.
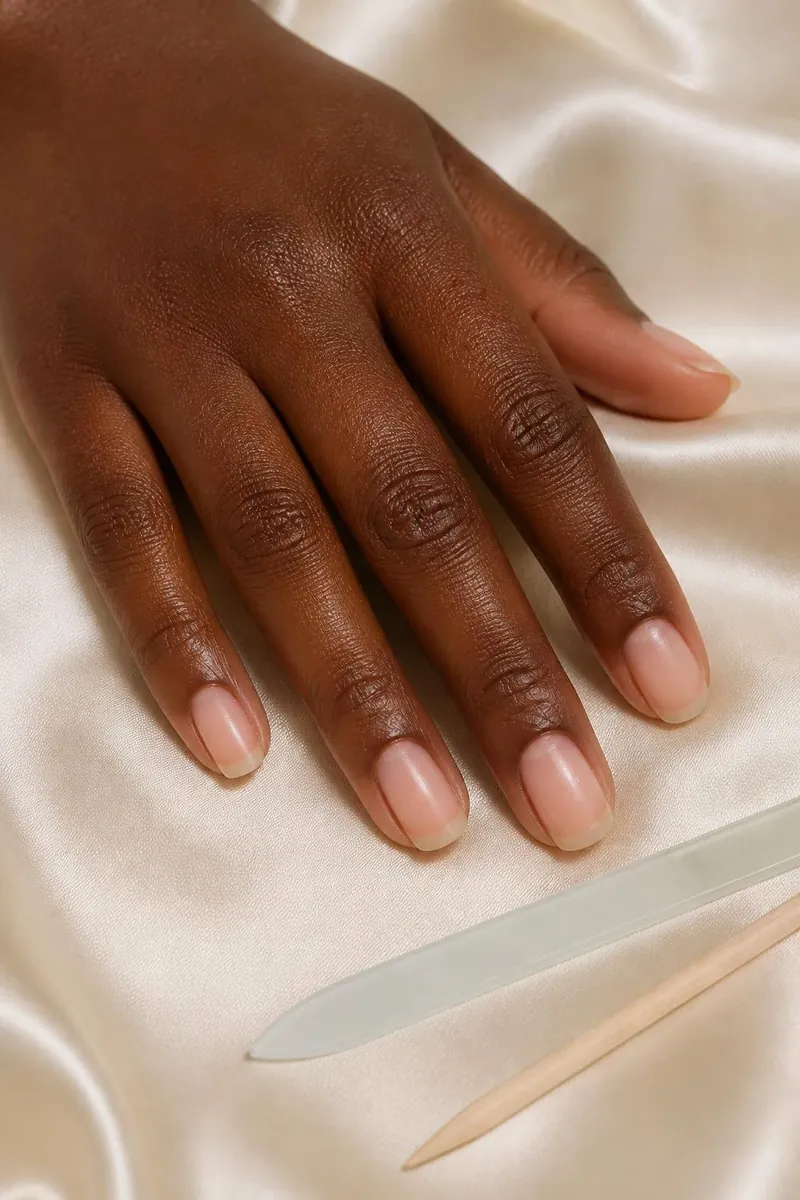
Prep matters more with milky nails than with opaque colors, because the sheer finish shows what's underneath. If your cuticles are dry, give them some care a day or two before you paint. Our guide on how to care for cuticles covers the basics.
2. Apply a base coat
Brush on a thin layer of base coat and let it dry for a minute or two. A ridge-filling base smooths the surface, which gives you a more even milky finish. Make sure to run the brush along the free edge to cap it.
3. Paint the first coat of milky polish
Wipe one side of the brush on the bottle neck so you're working with a modest amount of polish. Place the brush a little above the cuticle, push back slightly toward it, then pull down the center of the nail. Follow with a stroke on each side. Keep the coats thin. A thick first coat tends to pool and streak, and sheer formulas show this clearly.
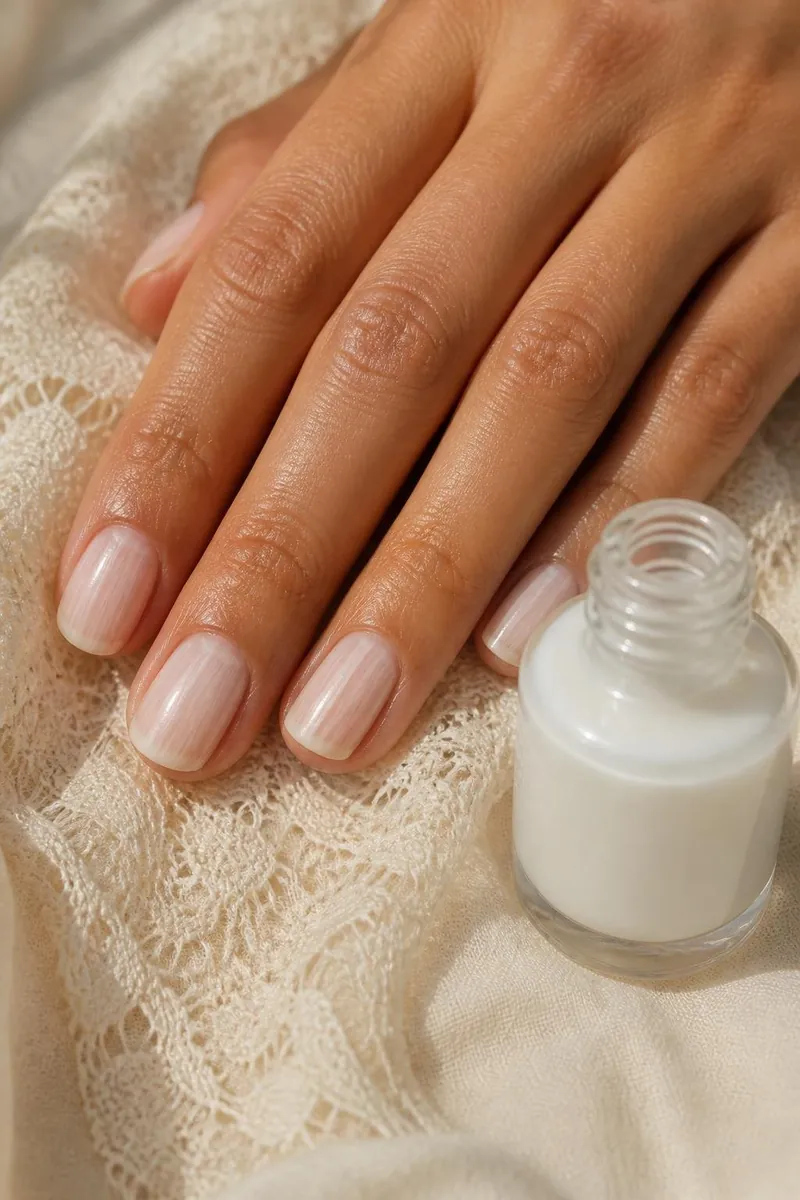
Don't panic if the first coat looks a little patchy. That's normal, and the second coat evens it out.
4. Add a second (and maybe third) coat
Wait for the first layer to feel dry to a light touch, usually two or three minutes, then add a second thin coat. This is where the milky effect appears. If you'd like it a bit more opaque, add a third coat. Two coats keep it sheerer and more natural; three coats look softer and more even. It's your call.
5. Clean up the edges
Dip a small flat brush in remover, blot it on a tissue and trace around the cuticle line to remove any polish on the skin. A clean edge makes milky nails look like a salon job, and it takes only a minute.
6. Seal with a glossy top coat
Finish with a generous glossy top coat, capping the free edge again. Shine is part of the look, so choose a top coat you like. Let everything dry for at least 15 to 20 minutes before doing anything demanding with your hands, and longer if you can.
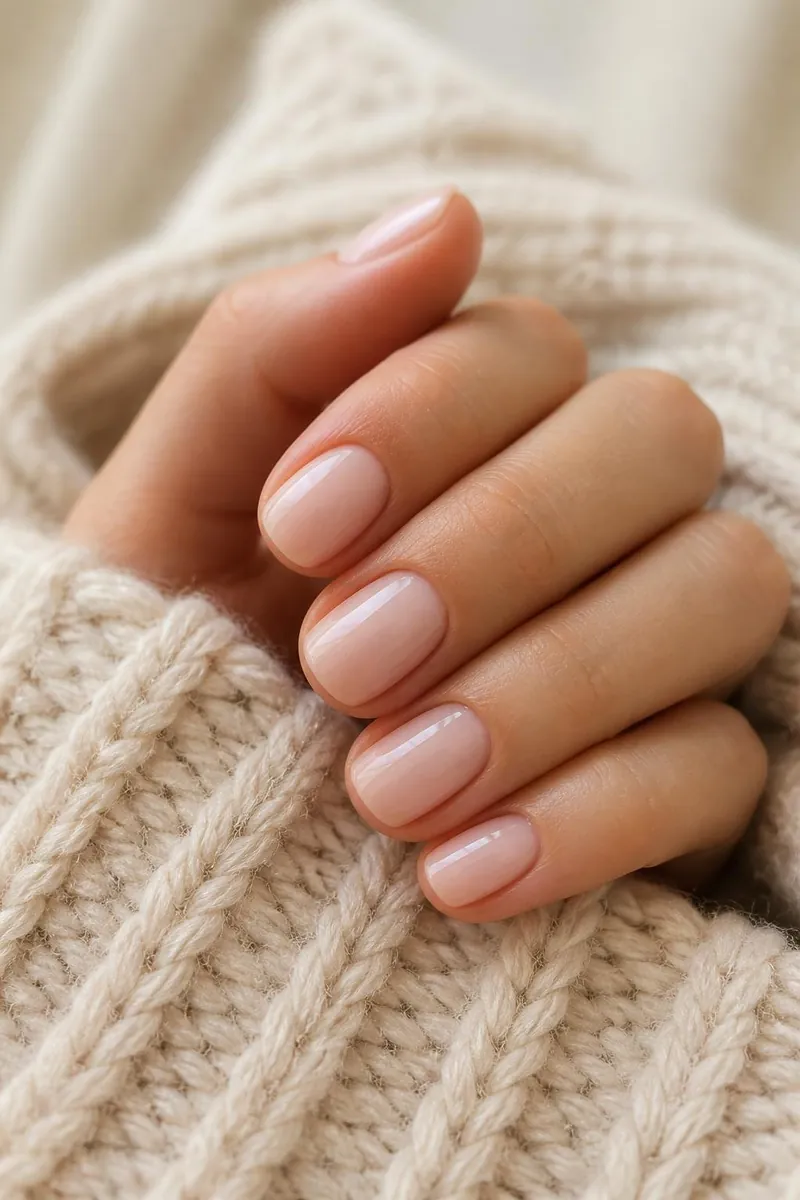
7. Finish with cuticle oil
Once the polish is dry, massage a drop of cuticle oil into each cuticle. It softens the skin around the nail and makes the whole manicure look fresher.
Using gel instead
The steps are the same, with a lamp. After prep, apply a thin gel base coat and cure it according to the product instructions. Add two thin coats of milky gel color, curing after each one, then a no-wipe gel top coat and a final cure. Cure times vary by brand and lamp, so always follow the directions that came with your products. Keep gel off your skin, since uncured gel can cause irritation; wipe up any spills before curing. When removing, follow the soak-off method recommended by the maker, and never pry or peel gel off, as that can thin the nail.
Or try press-ons
If you don't want to wait for polish to dry, milky press-ons are a quick option. Size each nail before you apply, lightly buff the surface of your natural nails, wipe with remover and press firmly for several seconds per nail.
Common mistakes
- Coats that are too thick. Sheer polish streaks and bubbles when applied heavily. Several thin coats look smoother than one thick coat.
- Skipping the base coat. Without it, ridges and marks show through the sheer finish.
- Choosing an opaque white. A full-coverage white looks chalky rather than milky. Look for sheer or jelly formulas.
- Not waiting between coats. Adding a coat too soon can drag the layer underneath and leave streaks.
- Rushing the cleanup. Polish on the skin is easy to spot against a light shade.
- Forgetting the free edge. Capping the tip with base and top coat helps reduce chips.
Aftercare
Milky nails show wear at the tips more than at the base, so a fresh layer of top coat every two or three days helps keep them glossy. Wear gloves when you wash dishes or clean with harsh products. Keep up with cuticle oil once a day, ideally before bed, so the skin around the nail stays soft.
When you're ready to remove regular polish, press a remover-soaked pad onto the nail for a few seconds before wiping, rather than scrubbing. Give your nails a quick moisturizing step after. If you want a routine that keeps nails in good shape between manicures, see our everyday nail care routine.
Good to know: Milky nails also look lovely as a base for minimal art. A tiny gold dot or a thin French tip on top keeps it simple. For more pared-back ideas, browse our minimalist nail trends.
Products for this look
For this look you'll want a smoothing base coat, a sheer milky polish and a good glossy top coat.
Products worth a look
Seche
Seche Vite Dry Fast Top Coat
A long-running salon and drugstore favorite: a quick-drying, high-gloss clear top coat applied over wet polish. Retailers describe it as chip-resistant and…
Researched pick